


Receive all updates via Facebook. Just Click the Like Button Below

▼

Powered By | Blog Gadgets Via Blogger Widgets

HomeAboutContact
Showing posts with label art. Show all posts

Thursday, March 13, 2014

Our Chihuly Masterpiece


Last summer when I traveled west to see my son (and a few of my favorite bloggers) in Canada, I spent a day in Seattle Washington.  One of the things I did was go to the Chihuly Garden and Glass exhibit that is right next to the Space Needle.  Dale Chihuly is an artist who makes amazing sculptures and huge glass installations from blown glass.
I actually first learned of Chihuly from Pinterest where I saw all sorts of art projects for kids using crazy straws.  The actual art is truly amazing.  I especially loved the way the beautiful pieces were lit.  The glass practically glowed.

I decided I wanted to add Chihuly to our Art Unit this year and chose to try making something inspired by this ceiling in Las Vegas:

I have melted plastic cups before and saw that Jeanette from Artchoo! had used them to emulate Chihuly's glass pieces.  I had each child color several plastic cups using permanent markers (bigger markers worked better).

I then put the cup in a toaster oven set to 350.  The artist came and stood next to me and told me when he or she thought I should take the cup out of the oven (it was less than a minute).  I then removed the cup with my bare hand.
It was interesting to see how differently each of the cups shrunk and melted.  We used several different types of cups that I found around my house and school. Originally, we used clear "soft" plastic glasses.  Some turned a little milky and some stayed clear. The Chinet "cut crystal" ones rolled up. When I still need more cups, I found a few blue and pink plastic cups (still transparent) and let the kids decorate those. Because they were too tall for the toaster oven I cut them down which worked  well.  I'm so glad that we ended up using  different types of cups because it added a lot of interest to our final project. I think that all of the cups had the recycle number 6 on the bottom. 


I wanted our Chiluly inspired work to be lit up like the ones I saw in Seattle.  Since one of my light covers was broken, I decided to tape it back together and then hot glue our art directly to the light cover.  It took a lot of cups to cover the entire area but the result is really cool!
Of course my iPhone doesn't begin to do justice to how cool this project looks.  


It makes me want to cover all of my fluorescent lights. Now that would be spectacular!


Thursday, July 18, 2013

Throw Back Thursday - Collaborative Collage

      I love doing collaborative projects with my kiddos.  This rolled paper collage has been done by teachers in my school for several years.  It truly is beautiful (and very different feeling depending on the colors used and the width of the paper rolls).  My one problem with collaborative work is what I should do with them afterwards.  This past year I made the rolled paper collage the size of the window in one of the 3 doors to my classroom.  It will look great covering a somewhat awkward space.  I also think that this is beautiful enough that it could be sold at a fundraising auction.  We don't do anything like that  at our school but I know that a lot of private schools raise lots of money with collaborative classroom projects.
 Collaborative Rolled Paper Collage -Originally published 5/20/12
We created this beautiful rolled paper collage in several steps. First we painted the paper.  We mixed color and added texture to some of the pieces by running combs through the paint. On other pieces, we used drops of liquid water colors and salt to create the beautiful color combinations and texture.  


I used a paper cutter to cut the paper into strips which we then rolled around pencils. 


After re-rolling quite a few of the rolls, I hot glued the paper curls to foam board.  


We like the color and texture in this piece of art (once again my iphone doesn't begin to do justice to the colors in this cool piece of art).

I am linking up withCara's Throw Back Thursday Linky Party.

Wednesday, May 23, 2012

Van Gogh Inspired Still Lifes

      I wish I did more easel painting this year...there was simply not enough time for everything!  Next year I am going to try to have the easel up during free play at least once a week. 
      After looking at different Van Gogh paintings, including some of his sunflower paintings, we painted a still life of sunflowers in a blue vase. 


As with all of the kids projects, I especially love seeing them all together.

Tuesday, May 22, 2012

Painting "en plein air" like Monet

                             
         One of the last activities that we did as part of our Art Unit was to go to the beautiful rose garden that is on Swarthmore College campus to paint en plein air.  We learned that Monet was one of the leaders of the Impressionist painting movement.  He painted en plein air which means that he brought his materials outside to paint the natural light and shadow.  After our brief moment of silence and reflection, I gave each child a canvas and a box of water colors.  I had also bought 2 sets of "real" water color tubes.  Each child found a spot to set up.  The kids loved painting on a real canvas and they always love being outside.


After painting, the artists ran around (of course:)

...and played Duck, Duck, Goose

The paintings were beautiful!
O

Sunday, May 20, 2012

Rolled Paper Collaborative Collage


We created this beautiful rolled paper collage in several steps. First we painted the paper.  We mixed color and added texture to some of the pieces by running combs through the paint. On other pieces, we used drops of liquid water colors and salt to create the beautiful color combinations and texture.  


I used a paper cutter to cut the paper into strips which we then rolled around pencils. 


After re-rolling quite a few of the rolls, I hot glued the paper curls to foam board.  


We like the color and texture in this piece of art (once again my iphone doesn't begin to do justice to the colors in this cool piece of art).

Wednesday, May 16, 2012

Spectacular Self Portraits


         We are having an Art Show in our class this Friday and I LOVE how our self-portrait studies came out.  The children did 3 different types of "portraits."  
         First we looked at lots of portraits.   I told the children that their first portrait would be of their whole body. We then read the book Here Are My Hands by Bill Martin.  We moved our various body parts and talked about how they were connected and how big they are.  For example, we touched our toes and realized our waist was about the mid point of our body.  We noticed how wide our necks are (almost as wide as our heads) and that our arms come out of our shoulders.  The kids did a great job with these observations but I knew it would be hard for Pre-Kers to remember these things when they started to draw.  They did a great job.  I gave them a permanent marker and had them draw a "whole body picture" of themselves.  Next they covered their portrait with little pieces of tissue paper.  We then sprayed the paper with water so that the colors bled on their portraits. I saw the idea for this portrait at Princess Artypants.


      Our next portrait was done in a style similar to what is described in Deep Space Sparkle.  I traced a head outline on each child's paper.  On the first day, the children painted their skin, clothes and the background.
On the second day, the children added their facial features and hair.

          The final part of their portrait study was a "portrait poem."  I have done these before but I got the idea of mounting them with the other self portraits at Princess Artypants.
            The poems all came out a little different because I had trouble getting the kids to answer the same questions. For example, some couldn't think of 3 words to describe themselves so I asked about what they wanted to be when they grew up or what they are good at.  I then mounted all 3 pieces on 1/2 sheet of poster board.  I love them and I'm sure the parents will too.


Friday, May 11, 2012

Calder Inspired Sculpture


Calder - Inspired Sculpture


       We are very lucky that our nursery school is located on the beautiful campus of Swarthmore College.  We take advantage of the campus with regular walks.  We are also very lucky that as part of our Art Unit, we were able to see a stabile Mobile by Alexander Calder that is located on the campus.  After talking about Alexander Calder and his interest in kinetic art (art that depends on motion) we visited this sculpture and notice how it move slightly in the wind.  
       We then went back to school and created our own Calder-inspired stabile Mobiles.  I cut a piece of florist foam to fit in the bottom of the new plastic baby food containers.  We then added grass seeds that are already mixed up in some type of dirt (you can just put seeds right on the florist foam). We then gave each child 3-4 pipe cleaners and small folded pieces of construction paper.  The children cut out shapes and bent the pipe cleaners.  We then glued (or sometimes stapled) the folded shape around the top of the pipe cleaner and poked the other end into the foam.  A couple of days later, we have our own sculptures!  This project was inspired by Teach Kids Art.


Tuesday, May 8, 2012

Seurat's Dots


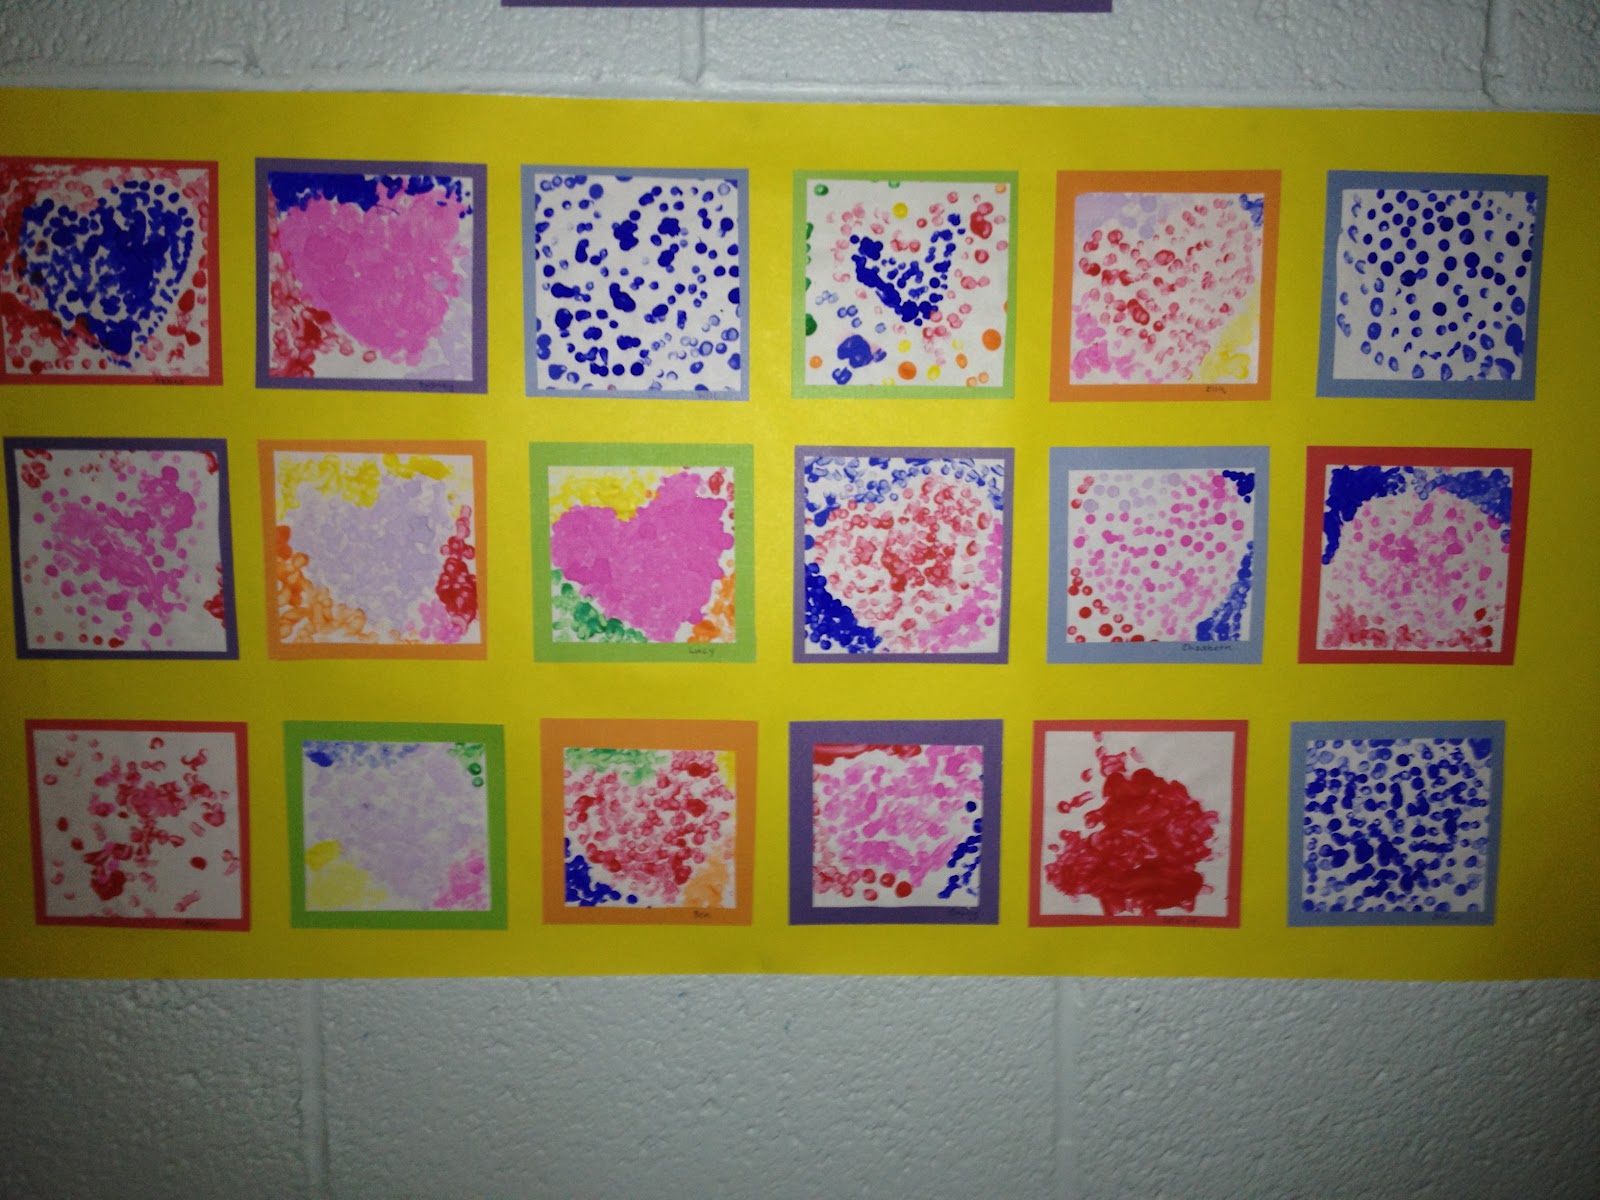
          After showing my class Georges Seurat's painting A Sunday Afternoon, I wanted to have the class try a kid-friendly version of pointillism.  We first talked about how large the actual painting is (almost 7' x 10') and that it took Seurat over 2 years to complete. We decided to make something much smaller (about 4" x 4").

Monday, May 7, 2012

Art ABCs

                                  
             While I was cleaning out the closet in my classroom I found this Art Alphabet that my class made when I was at the school 8 years ago. We didn't have time to do a new one this year but it sure is a cute addition to our classroom as we do our Art Unit.

Tuesday, May 1, 2012

Art Inspired by Kandinsky

We learned that Wassily Kandinsky used color, shapes, and line to create Abstract Art.  My kiddos said that Kandinsky's Squares with Concentric Circles made them happy.  The beautiful versions that we made in class make me very happy.
            My iphone does not begin to do justice to the beautiful colors in these paintings.

I gave each child a piece of paper that had been folded into into 6 squares.  The kids used Cray-Pas to draw a small circle in each square and then draw 2-3 circles around the original circle.

Next, the kids used liquid watercolors to fill in the circles and the squares.  I love the way the colors blended.


BEAUTIFUL!